Anyone can create a website... in minutes.
Welcome! My name is Ian. I've been creating websites since 1996. If you need to create a website, but don't know where to start, you've come to the right place!
Here, I explain how to create a website. I also explain how to get your own domain name (eg, yourname.com), and how to host your website (make it available to the world).
There are two main approaches to creating a website.
Use an online website builder. This is the easiest approach. This allows you to create a website without actually having to learn all the technical stuff.
Build it yourself. This is where you need to know things like HTML, CSS, JavaScript, and a multitude of other technologies before you even start.
Use an Online Website Builder
This is the easiest way to create a website. Using an online website builder, you can build a website without needing to know all the technical stuff.
To use an online website builder, you simply log in to your account, pick a template, and add content. It's just like how bloggers use WordPress to create blog posts, however a website builder is better for when you need more control over where and how the content is displayed.
Website builders usually enable you to add stuff like forms, photo galleries, slide shows, and navigation bars to your website. And adding such components is usually done within a few clicks.
A good website builder will also allow you to preview your changes before you publish them. That way you can see what your changes will look like to your audience, before your audience gets to see them. This allows you to experiment without worrying about it affecting your website users.
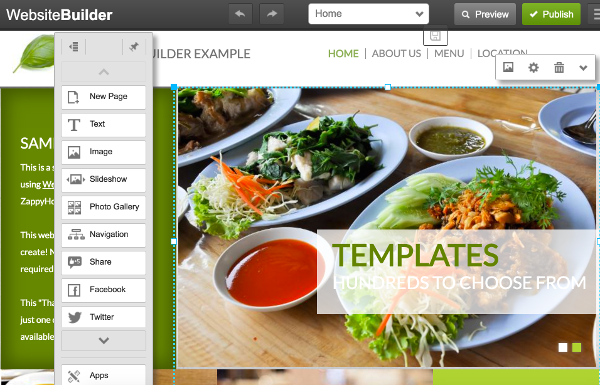
Example Website Builder
Here's what ZappyHost's Website Builder looks like while editing a restaurant themed website. The toolbar allows you to quickly add components such as forms, images, social icons, and more.
You can also click Preview before you publish any changes, just to make sure you'll see it exactly as it will appear to your users.
This website example uses a the "So Thai" template, which includes all images. You can always replace these images with your own or choose from thousands of stock images that are supplied with the website builder. You can also switch themes at any time — there are hundreds of themes to choose from. You can give your website a complete redesign with the click of a mouse!
The website builder is very intuitive, and you shouldn't have too much trouble using it. In any case, here's ZappyHost's Help page with a list of common tasks in case you need some help getting started.
Example Websites made with the Website Builder
Here are two websites that I set up within 5 minutes. Both use ZappyHost's online website builder. I did this to show you how easily you can create a website using this system.
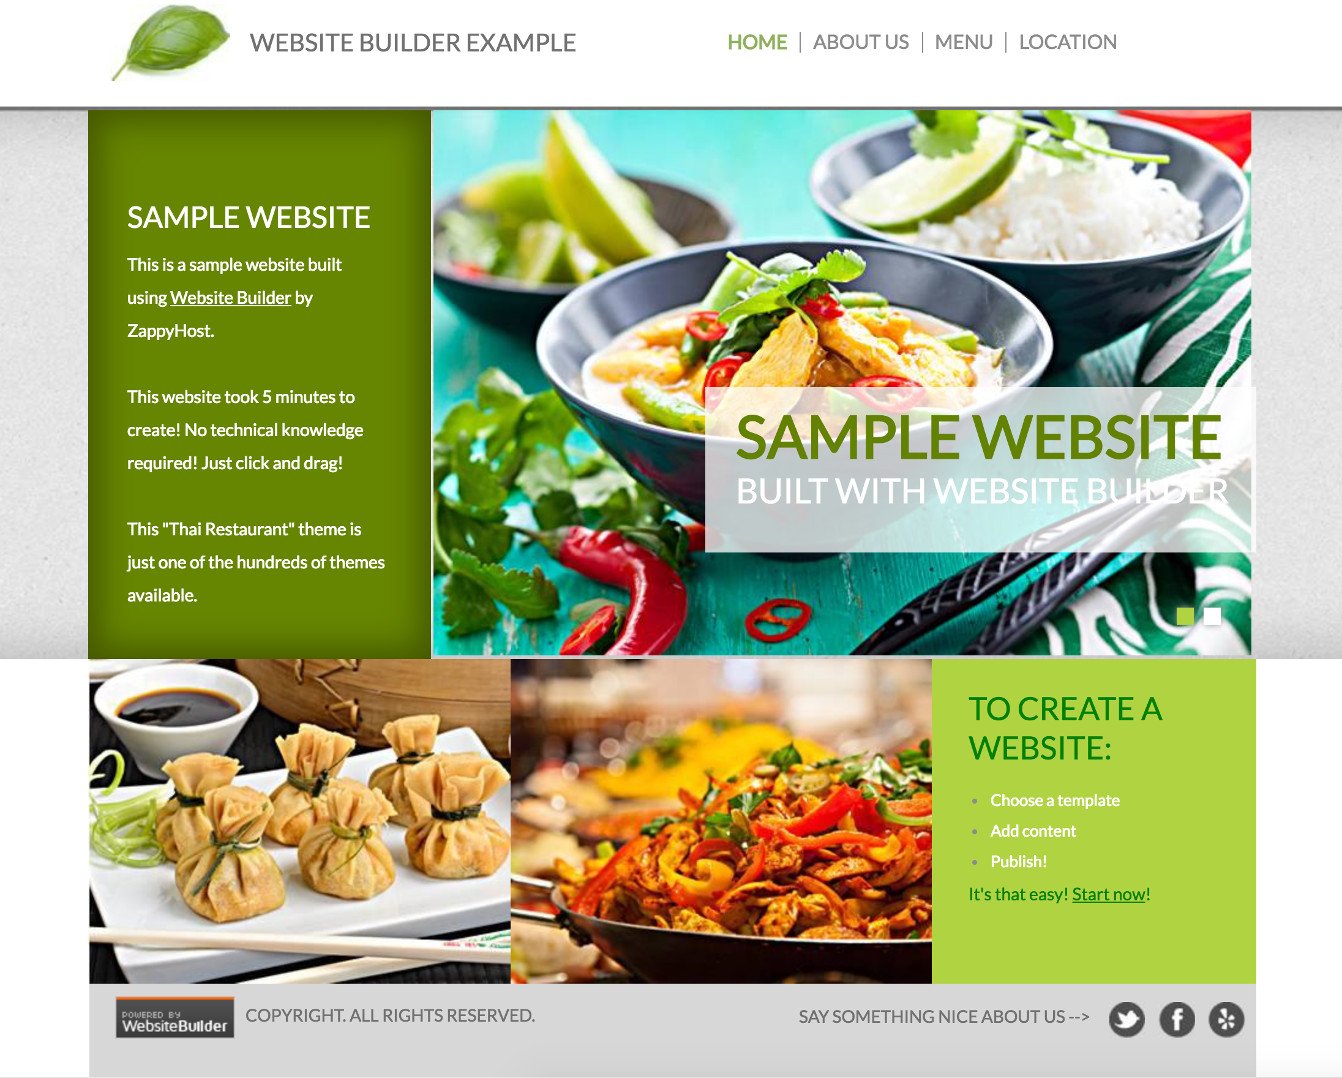
"So Thai" Theme
This first example uses a template called "So Thai", which is perfect for restaurants, cafes, and other food based websites.
All photos come with the template. I didn't change anything except the text. So you can add your own text and photos, add a page or two, update the navbar if required, and you'll have your own unique website in no time!
"Creative Portfolio" Theme
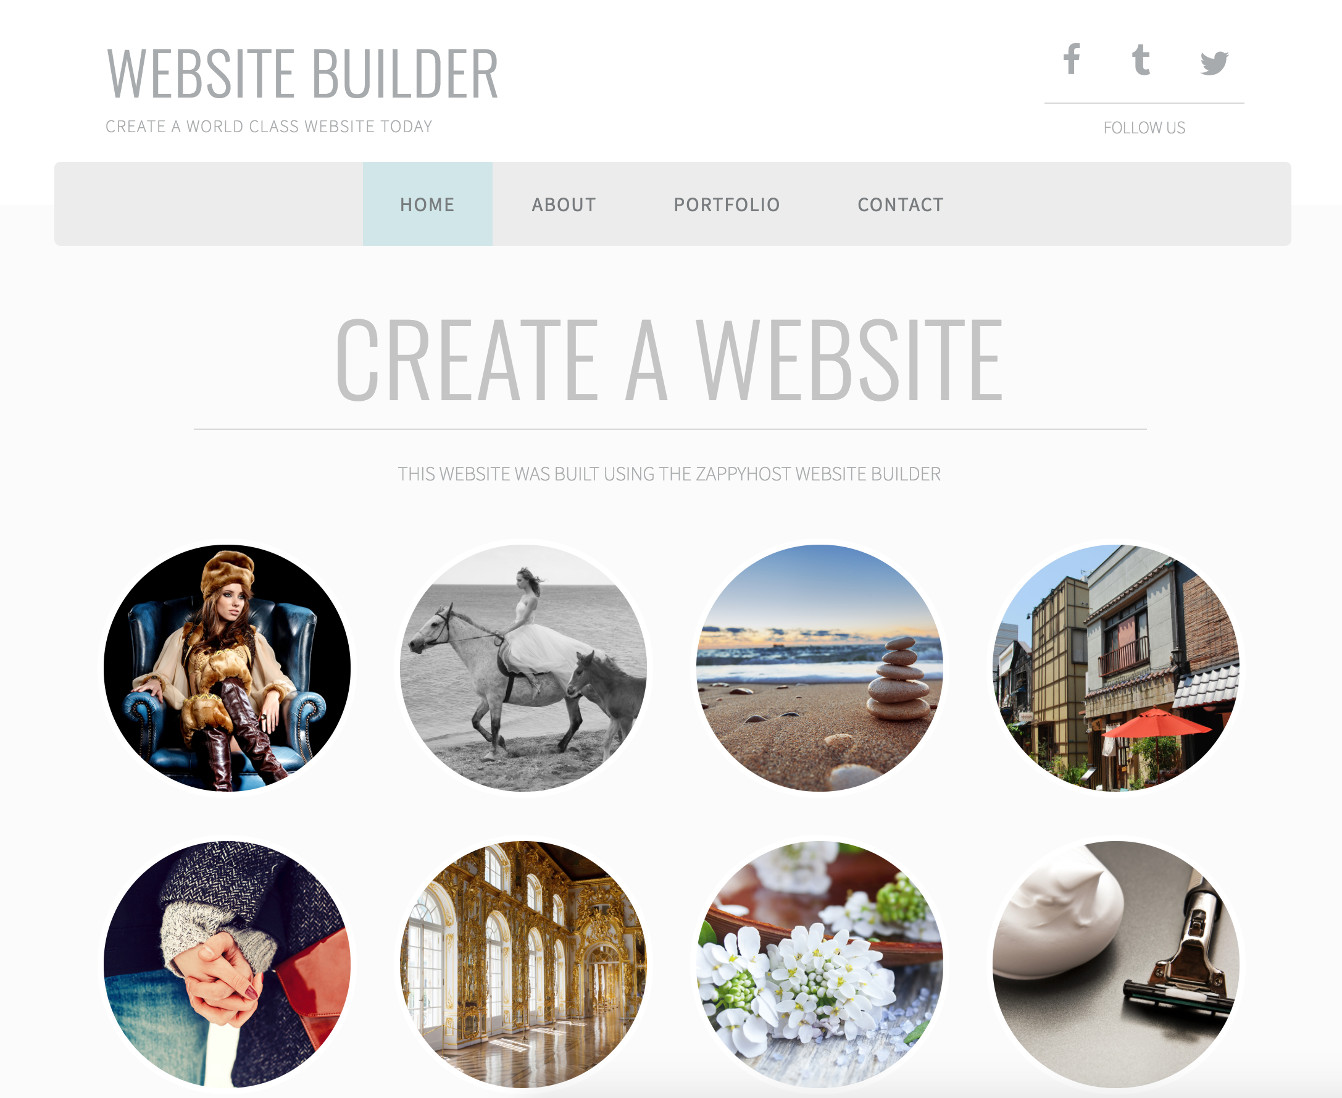
This second example uses a template called "Creative Portfolio", which is is great for displaying your creative work such as photography, graphic design, artwork, and other creative endeavors.
The portfolio page uses a carousel that enables users to scroll through your images. But there's nothing stopping you from using this template for any other purpose if you like the look.
As with any template, you can customize the navbar, upload your own photos (or choose from the stock photos), add a contact form, and more.
If you think this could be what you need, check it out here.
(Full Disclosure: ZappyHost is a partner site and I earn a commission from any product sales).
Building your Own Website
You've just seen how easy it is to create a website using an online website builder. If you prefer not to use a website builder, you'll need to build the site from scratch. The rest of this article explains what's involved in building a site from scratch.
Building a website from scratch requires a greater level of technical knowledge, but it provides you with the greatest flexibility. You can create your website exactly how you want it to be without being restricted by templates, plugins, or other factors.
Creating your website from scratch will involve at least the following steps.
Register a Domain Name
One of the first things you should think about before you create a website, is its domain name.
A domain name is the thing that looks like this: yourdomain.com.
Your domain name represents the URL (or permanent web address) of your website. Therefore, when anyone types your domain name into their browser, they will see your website.
Your domain name is one of the most important parts of your website. It's the only thing people need to know in order to visit your website. Your domain name will also likely be one of the most enduring parts of your website. You may go through many redesigns, and even many web hosts, but chances are, you'll keep the same domain name throughout.
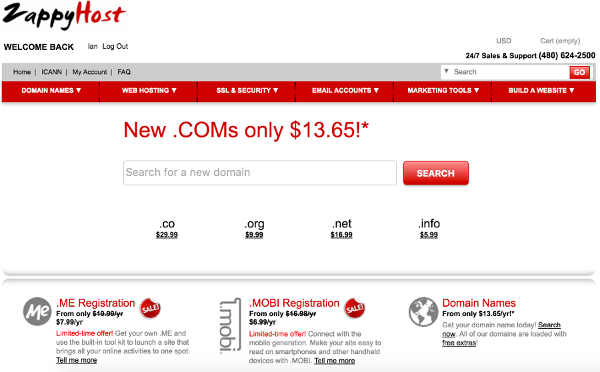
You get a domain name by registering it through a domain name registrar or hosting provider. You simply check that your preferred domain name is available, then register it (online). Most hosting providers offer domain name registrations when you sign up for one of their hosting plans (see below).
Domain names are registered on an annual basis, and you can usually register it many years in advance (or set "auto-renew").
Prices can range from between $10 to $15 up to as much as $35 or even $45 (this is for the same product!).
It doesn't matter which domain registrar you check. If a domain name is available, it will be available at all registrars that support that top level domain (top level domain being the .com, .org, .info, etc part).
Similarly, if it's unavailable at one registrar, it will be unavailable at all registrars.
Get a Web Host
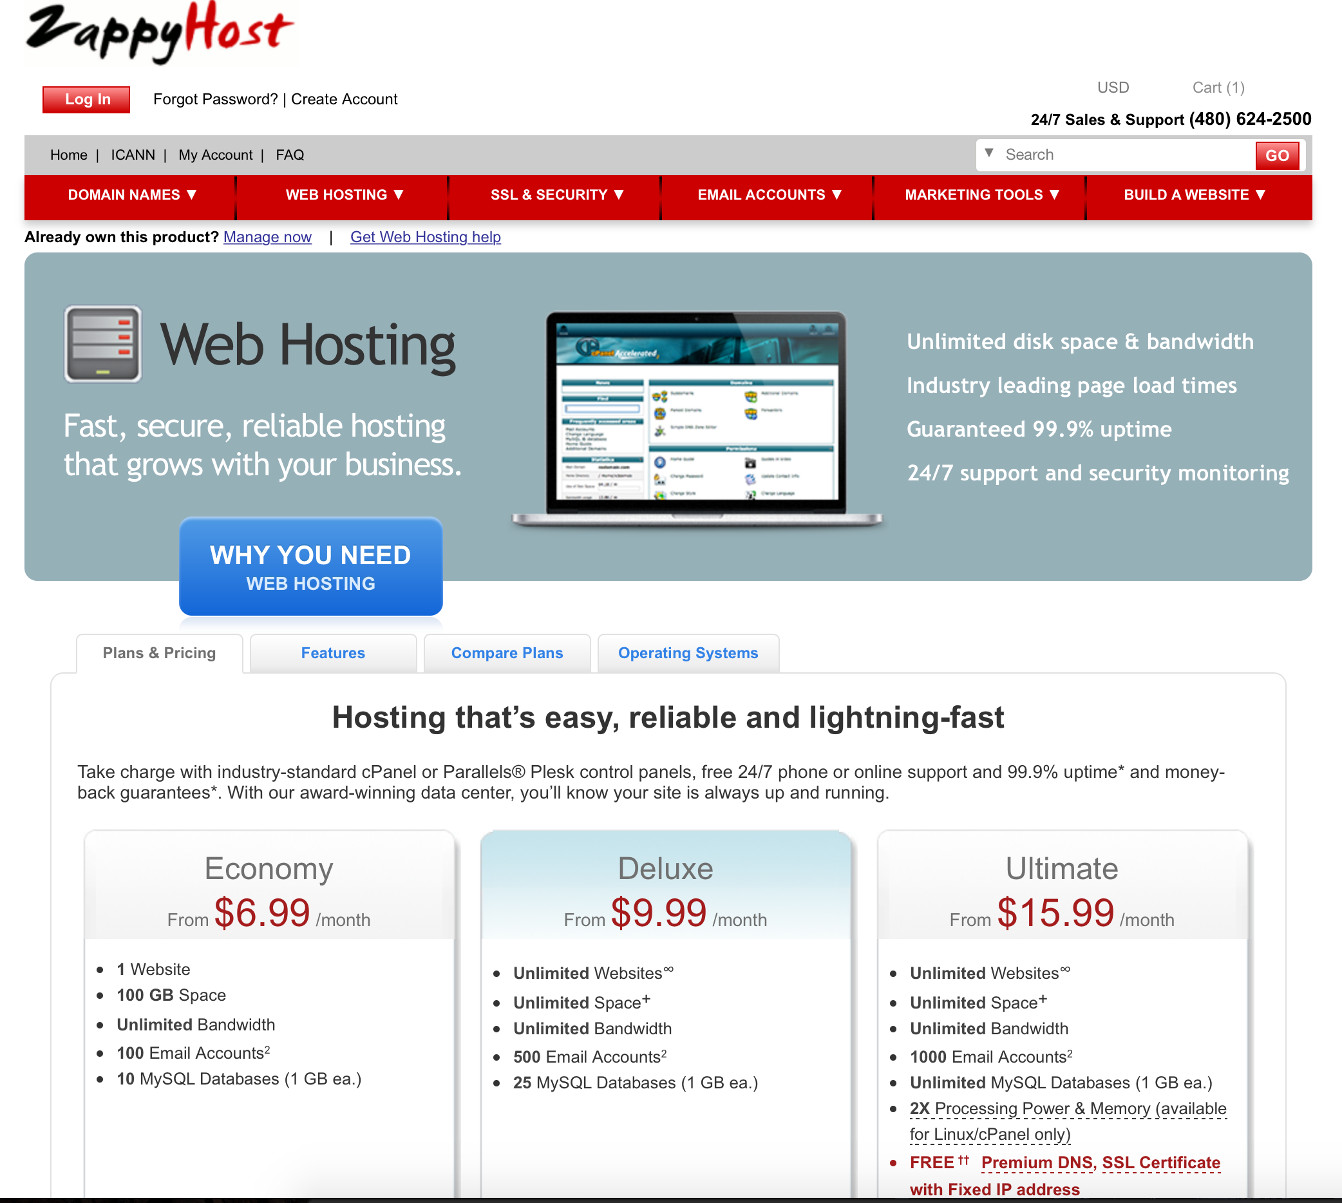
A web host (or hosting provider), is a company that makes your website available for the world to see. They have the equipment and technical skills to make sure your website is available to the world, 24 hours a day, 7 days a week.
Choose your hosting provider carefully — a good host will have excellent support. A bad host can have almost no support at all! If you're new to creating websites, good support can reduce the stress that comes from doing something for the first time.
Also, some web hosts have an online website builder. A good website builder can enable anyone to make a website — even a complete novice.
If you don't need a website builder, you can build your website on your own computer, then upload it to your hosting plan when you're ready to go live. The common method of uploading website files is by FTP.
If you'd like to learn more about web hosts, check out my web hosting tutorial.
Also check out ZappyHost's hosting plans, where you can also register your domain name at the same time.
(Full Disclosure: ZappyHost is a partner site and I earn a commission from any product sales).
Build your Website
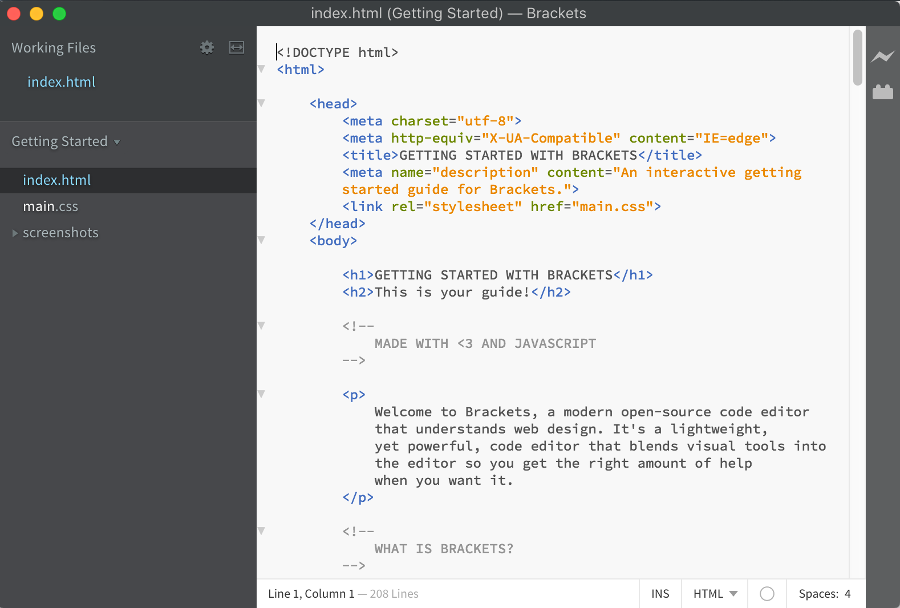
There are many different methods for developing websites. Each developer has their own preference, but generally, you create your website "offline" first. This is typically done on your own computer, or in a development environment (if you're in a team). This enables you to be fully creative with your website. You can try things out, break things, revert it back to a previous version, it doesn't matter because nobody is watching (except maybe the other developers).
Once you're happy with the "offline" version of your website, you can upload it to the "live" server (usually located at your hosting provider's data center). Once uploaded, the whole world can see your website.
Large development teams often have various stages that a website will go through before going "live". It might start on a development server, before being migrated to a test server, and then maybe even to a "staging" server, before finally being signed off for live deployment.
Either way, the "live" site requires web hosting and a domain name (more on these below).
Although web building has changed significantly since the early days of the web, the fundamental technologies and concepts remain. Here's an overview of the basic skills required to build a website.
You can also fast-track your learning by downloading some free templates and studying how they've been coded. Combine this with an HTML tutorial here, a CSS tutorial there, and maybe even a JavaScript tutorial and you'll be well on your way to becoming a professional front-end developer.
Taking it further, you could learn how databases work, pick up some PHP skills, a little JSON, and maybe even some Python and you'll be able to start applying for jobs as a backend developer.
Add Content
If your website is a small, brochure type site, its content might be built into the HTML files. If this is the case, every time you add new content, you'll need to create a new file, then upload it to the server.
However, most modern websites have a content management system (CMS). This enables you to add content to the website without having to go through the development process mentioned above. A CMS also allows non-technical people to provide content, so they don't need to know how to create a whole website before they can simply publish an article on the site.
So if your website uses a CMS, adding content can be a continuous process that works independently of the website development process. In other words, you can be developing a new website in your development environment, while content providers continue to update the existing site via its content management system. When it comes time for you to upload your changes, you can do so without affecting their content. However, if you make development changes to the database that holds the content, then you'll need to migrate the existing (live) data into your new/updated database.
A Tip about Free Websites
You might occasionally encounter companies offering you a free website. Basically you can sign up, and start building your website for free.
But... a word of caution!
There are things they might not tell you when they're trying to sell you a free website. While a few companies will be completely upfront about these extra costs, others will fail to mention them ...until you've signed up:
Your "free" website does not have it's own domain name (eg, www.yourname.com). If you want your own domain name, you'll have to pay for it. And you will probably pay more than you should.
Your "free" website may have ads displayed all over it. This enables the company (not you), to earn money from your website. To remove the ads, you will usually have to pay money for a premium package.
Most of the really good features are actually part of a "premium" package — which you have to pay for.
So, if you're shopping around, check for those three things before you sign up.
If you do choose the free option, I would highly recommend that you get your own domain name. Registering your own domain name is the best piece of advice I can give. Without this, your website does not have it's own "web address".
This might not sound like much now, but later, once you've built up a fantastic website with loads of content, you will see what I mean. Without your own domain name, your "web address" is not actually yours, it's the company who provides your "free" website. If they decide to change something, you could lose all your hard work. Imagine losing months, or even years, of hard work, just because you chose not to register a domain name!
Creating a Blog
Creating a blog is similar to creating a website. You use exactly the same steps as outlined above. However, there are some minor differences between blogs and websites.
Some hosting plans include a blog builder. These are very similar to online website builders, but they use blogging software instead. Blogging plans like this automatically create a blog for you when you sign up. For example, this is what ZappyHost's WordPress hosting does.
(Full Disclosure: ZappyHost is a partner site and I earn a commission from any product sales).
Shopping Carts & Ecommerce Websites
Websites with online stores are often referred to as "ecommerce websites". Ecommerce websites usually have a shopping cart that customers can add products to. Once the customer is ready to purchase your product, they can proceed to the checkout where they can register as a customer, pay for the product, provide shipping details etc.
Ecommerce websites are a little more complex than basic websites. For example, an ecommerce website usually needs to have an administration section where you can add/edit products to display on your storefront (along with other details such as price, description, size/color options, etc). The website also needs to enable customers to search your product catalog and purchase your products.
Because of the extra requirements of an ecommerce website, you will need more than a simple website builder. If you need to build an ecommerce website, check out ZappyHost's Shopping Cart ecommerce website builder.
(Full Disclosure: ZappyHost is a partner site and I earn a commission from any product sales).
FAQ & Help

Still not sure about how to go about creating a website? Check out the following:
Frequently Asked Questions (FAQs)
Create a Blog
More information on web hosting
More information on domain names
Learn HTML (usually the first thing you learn when learning to build a website)
Learn CSS (usually the second thing you learn — CSS is for adding styles to your website)
Learn JavaScript (for frontend programming)
Learn PHP (for backend programming)
Learn databases
Learn SQL (for working with databases)


0 Comments